


 Splash-tacular time
on Friday, August 28, 2009
at 4:38 PM As requested, a short tutorial on producing water droplet images.
Note: This tutorial includes many photography jargons. Viewer discretion is advised. First you'll need a few simple things: 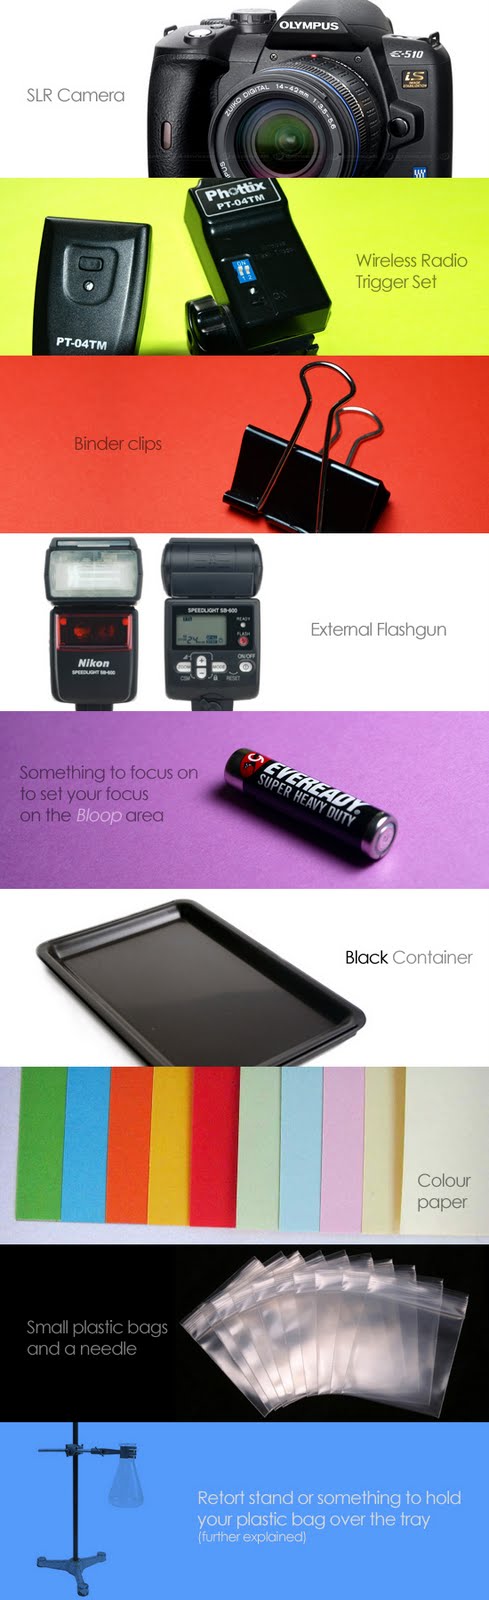 Here's the general set up:  Tray Ok first thing's first. I used a metal oven tray from the kitchen because it was the only black large container I could find. There are two important factors to consider in choosing your container:
Off-camera lighting Secondly, the point the flash to the A4 colour paper, and not the water droplet area. This is to saturate the colour paper which will produce its vibrant coloured reflection on the water surface. I don't have a specific intensity to use coz I'm a trial & error kinda person. Throughout the project, you may find your LCD showing up blown out highlights in the picture or sometimes underexposed images. But if you'd like a guide, I did a 1/16 flash intensity and on the camera in Manual Mode, I stopped down the aperture to about f8/f11 to get a pretty even clear depth of field throughout the water splashes, and set my shutter speed to between 1/160 to 1/250 because my Phottix PT-04 Wireless Trigger sync speed maxes out at around 1/200. And if you don't have a wireless trigger/pocketwizard etc, you can try using your flash unit as slave, triggered by your on-camera flash, provided your on-camera flash can be dialed down to a very low intensity so as to get minimal direct flash on to the water droplet (this makes the picture very flat) Colours 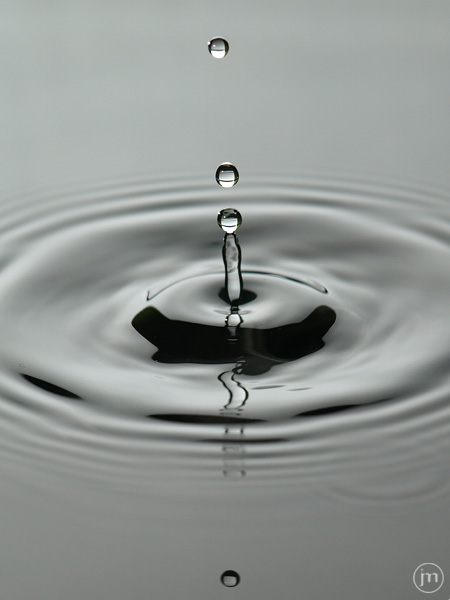 There are two ways to get the coloured effects instead of a dull black and white splash. The first is the easier one - just change your white balance settings on your camera to either tungsten or shady. Tungsten gives a colder and more strong blue in the whole picture, while Shady makes everything more orangy/yellow. In the two pictures below, I used custom white balance settings where I can set the Kelvin level i.e. 4000K, 5000k  2000K - cold/blue 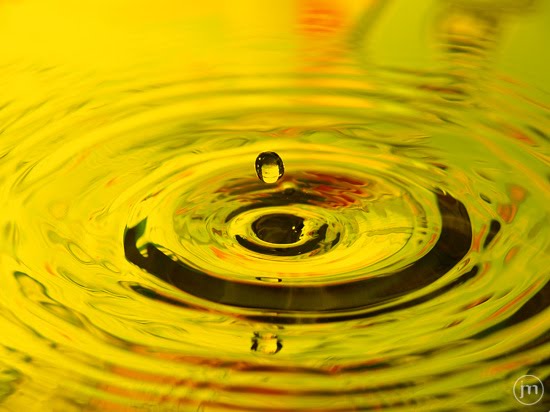 14000K - hot/yellow The second way is changing the background colour paper. That A4 colour paper acts as an illuminator on the water surface so if you can, get more saturated colours of A4 paper as that will light up your picture much better than those dull manila kad kind of colours (i.e. instead of pink, get red. unless you really want pink la). You can even throw in a mixture of inspirational colours. Example: 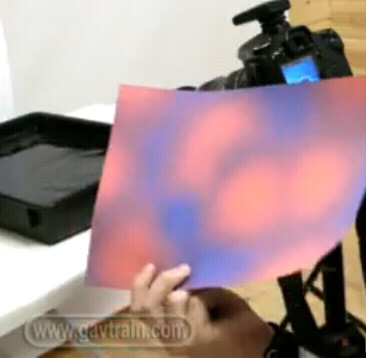 And here's the result: 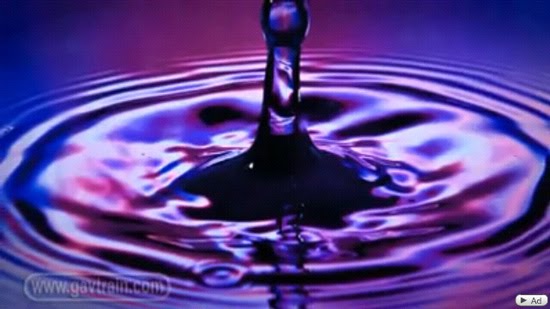  Get creative! Retort Stand To create the water droplets, I clipped a small plastic bag to the tip of a self-constructed mini-crane. This would create a steady rate of droplets, and most importantly it would enable the droplets to fall and splash at the exact same position to reduce focusing problems (further explained). 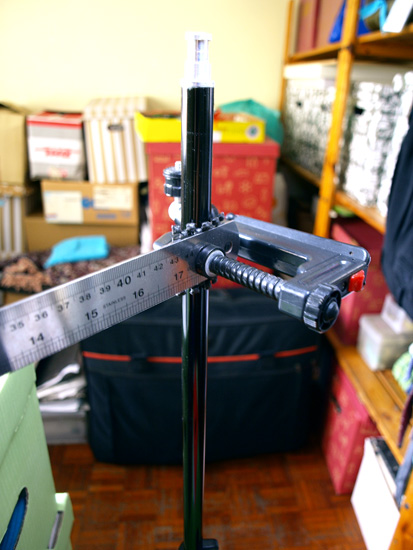 I clipped the plastic bag to a metal ruler and mounted the ruler on to a flash stand. If you don't have such contraptions, you could use a basic setup like piling 2 level boxes on each side of the tray and rest a steady pole across the boxes, overhead the tray. Make sure you tighten/fasten/brace the clip on your small plastic bag to ensure that it doesn't sway or shake due to wind or vibration. That would change the position of where the drops would land.  Focusing Now comes the part where that little battery is put to use. After I punctured the water bag with a needle, I placed the battery right where the droplets landed, just for something to focus on because the camera's autofocus isn't intelligent enough to detect the points of focus in that situation. 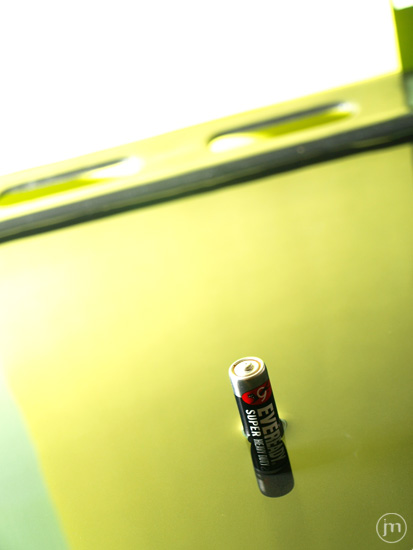 So the trick is to place your focusing object (you can use a bottle cap, a pen, whatever that's small and stands out of the water surface) beneath of where the droplets land, focus on it, then switch to manual focus and that would make life much easier where you can just continuously shoot without worrying. 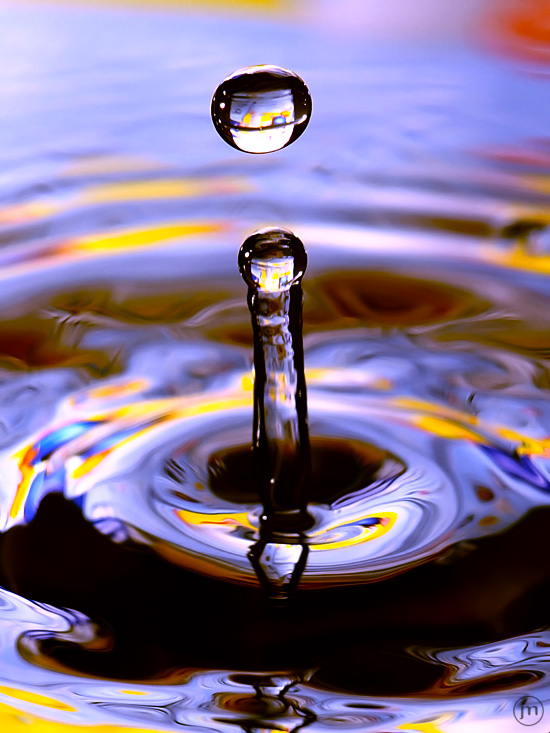 Okay, so I think that wraps the set up, now all you need to do is just shoot away! It's very much of a numbers game, the more you shoot, the better chance of you getting the perfect shot. That's all for this tutorial, hope you enjoyed it and I wish you all the best! Labels: expanding my knowledge
|
||


 |
||||||||||||
My name is Jon without a H. They call me the boy who's in the wrong academic course - I'm doing ACCA. You'll figure out the rest. I sway in and out of basketball, rock climbing, frisbee and gym-ing as sports, but I always stick to graphic design and photography. My dream is to either start and develop an advertising and design company, or design and implement a revolutionary accounting and control system for a multi-national IT company. Sounds crazy? Watch me! Oh, and I'm a massive Taylor Swift fan.
|
||||||||||||
 |
||||||||||||
|
||||||||||||
|
|
||||||||||||
|
||||||||||||
|
||||||||||||

|
||||||||||||
|
||||||||||||
|
||||||||||||
|
||||||||||||
|
||||||||||||
|
||||||||||||
|
||||||||||||
|
||||||||||||
|
||||||||||||
|
||||||||||||
|
|
||||||||||||
|
||||||||||||


 2007 - 2009 Jonming.com - This work is licensed under a Creative Commons Attribution-Noncommercial-Share Alike 1.0 Generic License
1 comments.